
Registering Cloudflare Subdomains in AWS Route53
I registered a Cloudflare domain as a subdomain in AWS Route53, so I’m documenting the process for future reference.
Using this method, you can utilize parts of your Cloudflare-managed domain with AWS services.
Prerequisites
- A domain managed by Cloudflare (e.g., example.com)
- An AWS account
First, we’ll prepare for DNS delegation of the subdomain in Cloudflare.
In this example, we’ll delegate the subdomain aws.example.com to Route53.
Creating a Hosted Zone in Route53
To delegate a Cloudflare domain to Route53, you first need to create a hosted zone in Route53.
-
Log in to the AWS Management Console
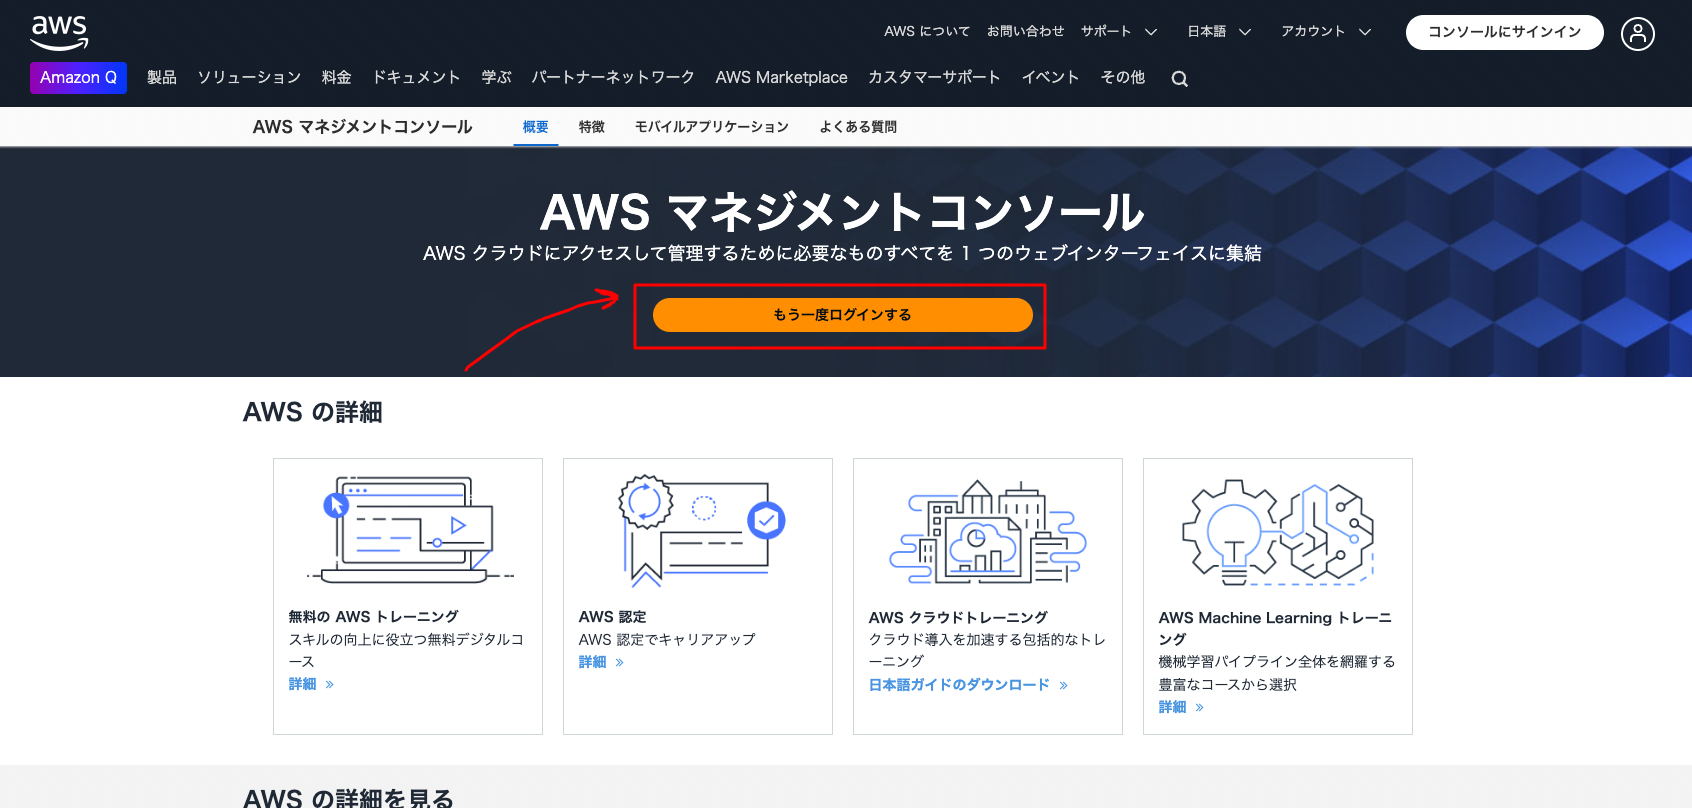
-
Click on the icon in the top left, then “Networking & Content Delivery” >> “Route53”
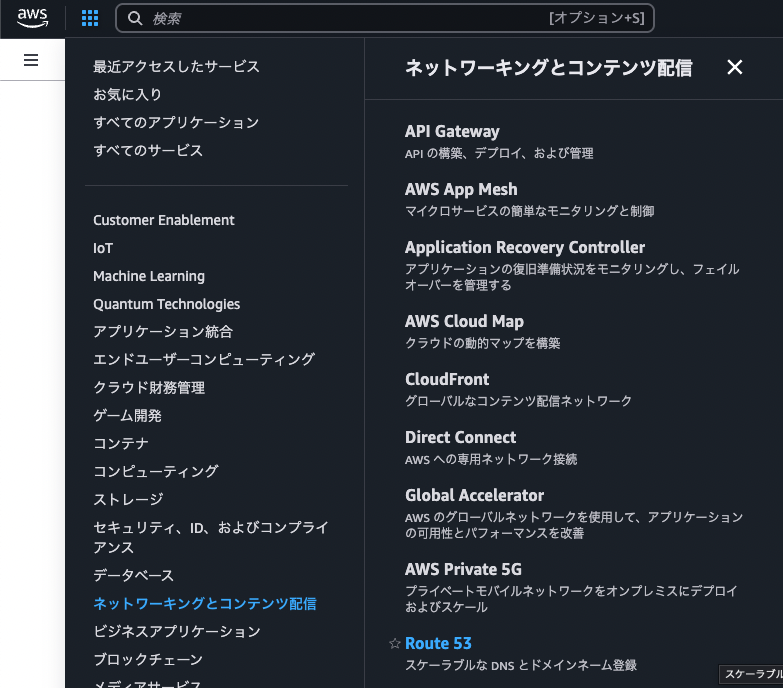
-
Select “Hosted zones” from the menu icon in the top left, then click the “Create hosted zone” button
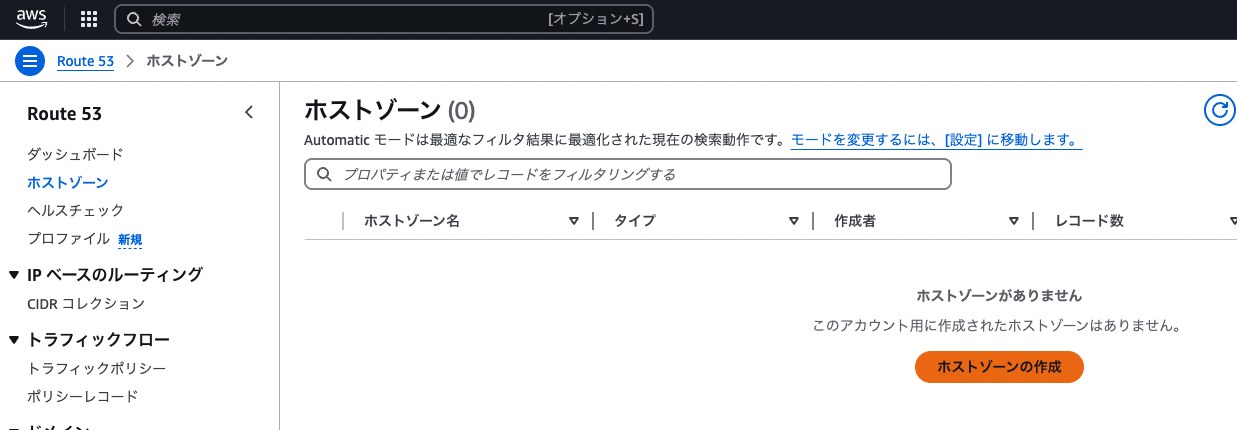
-
Enter the subdomain you want to delegate (e.g.,
aws.example.com) in the domain name field, select “Public hosted zone”, and click the “Create hosted zone” button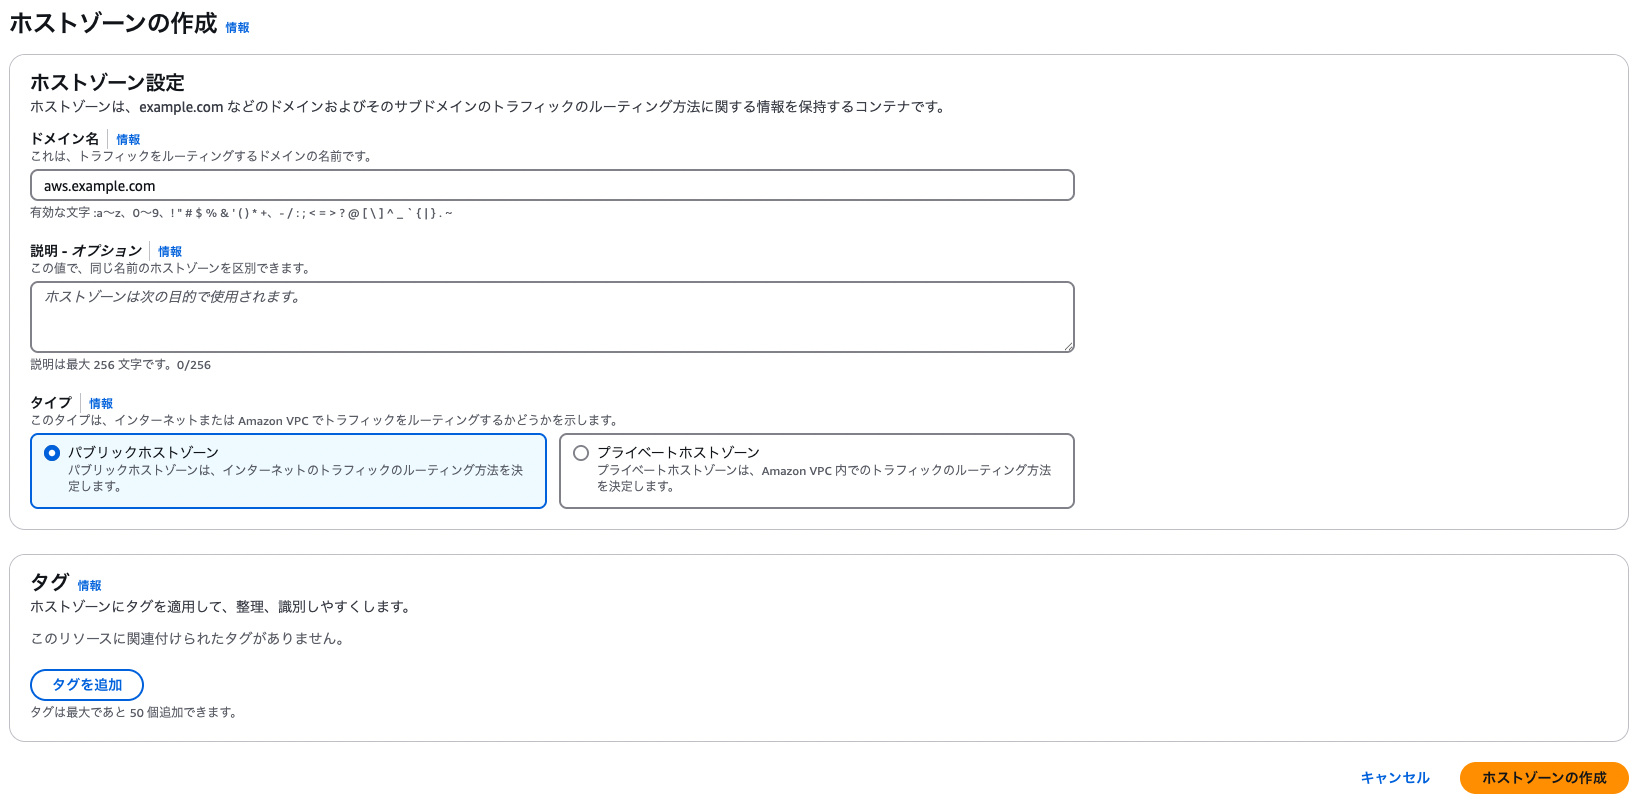
When the hosted zone is created, four NS records (name servers) are automatically generated. Make note of these NS record values.
For example:
ns-1234.awsdns-12.orgns-567.awsdns-34.comns-890.awsdns-56.netns-1234.awsdns-78.co.ukSetting up NS Records in Cloudflare
Next, add NS records specifying Route53’s name servers in Cloudflare’s DNS settings.
-
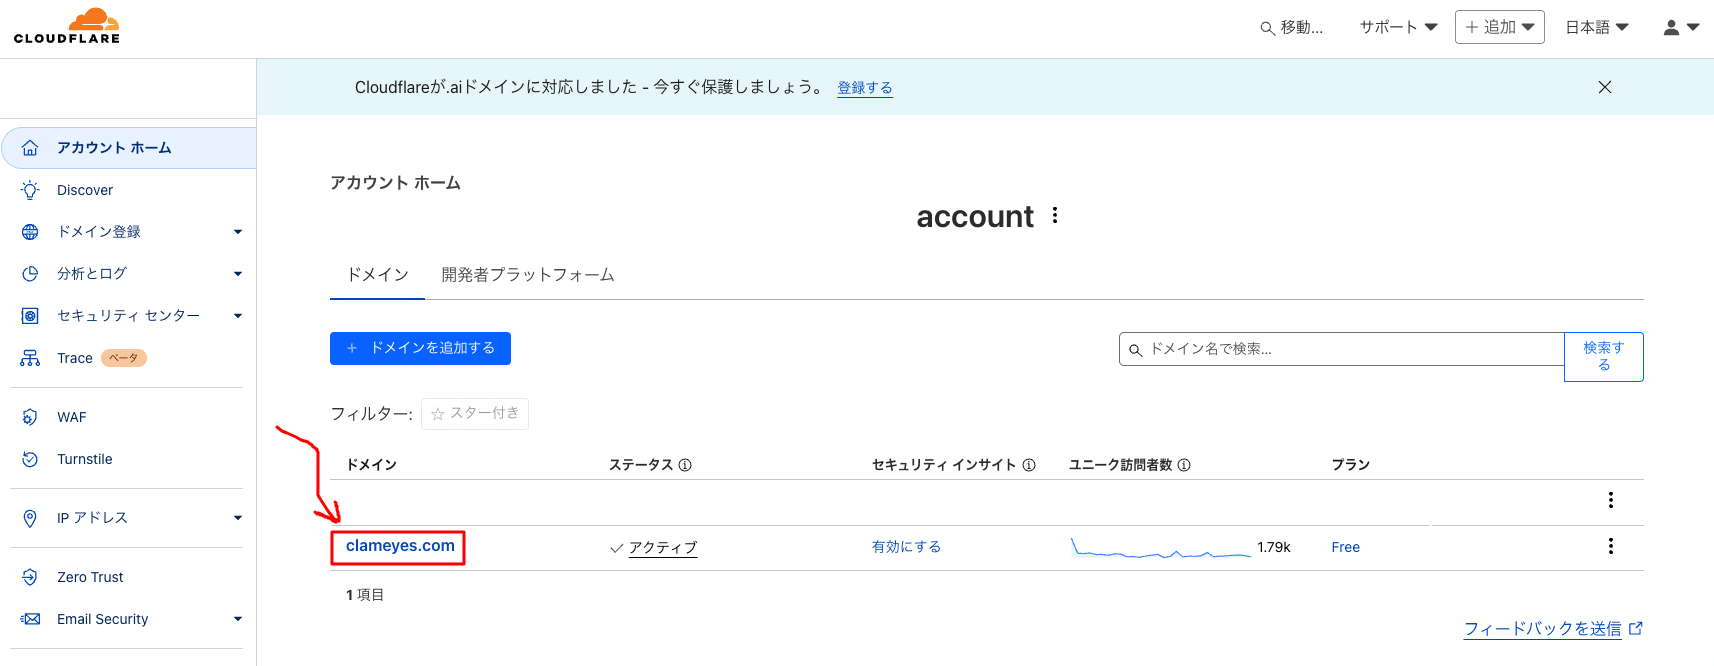
Log in to the Cloudflare dashboard and select your domain (example.com)
-
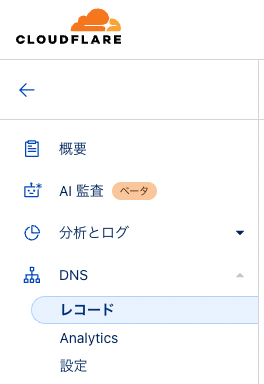
Click on the “DNS” tab in the left menu and navigate to the “Records” section
-
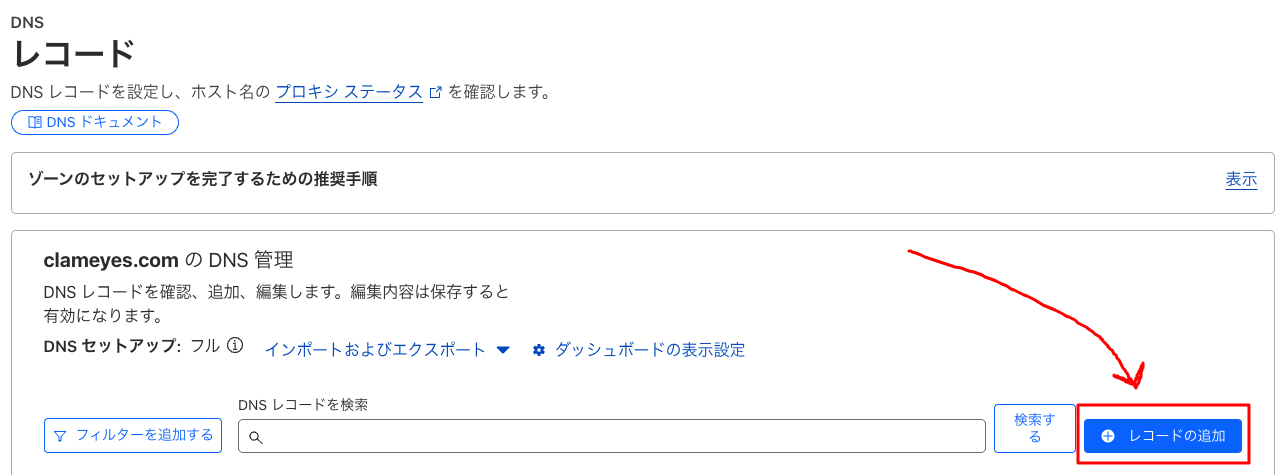
Click “Add record”
-
Select “NS” as the type, enter the subdomain name (e.g.,
aws) in the “Name” field, enter one of the Route53 NS records (e.g.,ns-1234.awsdns-78.co.uk) in the name server field, and click the “Save” button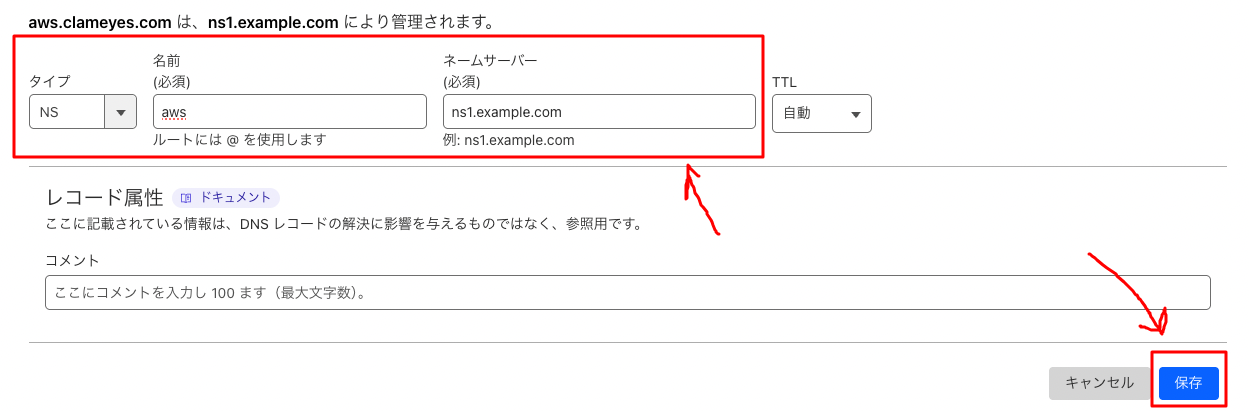
-
Repeat step 4 for all four NS records obtained from Route53
Wait for DNS Propagation
It takes time for DNS setting changes to be reflected.
Usually, it takes from a few minutes to several hours, but in some cases, it may take up to 48 hours.
Verifying the Configuration
To check if the DNS settings have been reflected, you can use the following commands:
dig NS aws.example.comResolve-DnsName -Type NS -Name aws.example.comIf configured correctly, the Route53 name servers should be returned.
For example, part of the output should look like this:
;; ANSWER SECTION:aws.example.com. 3600 IN NS ns-1234.awsdns-12.org.aws.example.com. 3600 IN NS ns-567.awsdns-34.com.aws.example.com. 3600 IN NS ns-890.awsdns-56.net.aws.example.com. 3600 IN NS ns-1234.awsdns-78.co.uk.Now, DNS management for aws.example.com has been delegated to Route53.
You can add necessary DNS records (A, CNAME, MX, etc.) for this subdomain in the Route53 hosted zone.