Creating a Documentation Site Easily with Astro's Starlight Template
I tried using a template called Starlight to create a documentation site with Astro, so I’m leaving this as a memo.
If you want to quickly create a Japanese documentation site using Markdown, Starlight is recommended.
Installing Astro/Starlight
First, let’s create a project using Starlight.
-
Run the following command to create a project using Starlight (replace the project name with one of your choice).
Terminal window pnpm create astro project-name --yes --template starlightTerminal window npm create astro@latest project-name --yes --template starlightTerminal window yarn create astro project-name --yes --template starlight
-
When you see a message like the following, the project creation is complete.
Terminal window ✔ Project initialized!■ Template copied■ Dependencies installed■ Git initializednext Liftoff confirmed. Explore your project!Enter your project directory using cd ./project-nameRun pnpm dev to start the dev server. CTRL+C to stop.Add frameworks like react or tailwind using astro add.Stuck? Join us at https://astro.build/chat╭─────╮ Houston:│ ◠ ◡ ◠ Good luck out there, astronaut! 🚀╰─────╯ -
After installation is complete, move to the project directory (modify this to the project name you created).
Terminal window cd project-name -
Start the local server.
Terminal window pnpm devTerminal window npm run devTerminal window yarn dev -
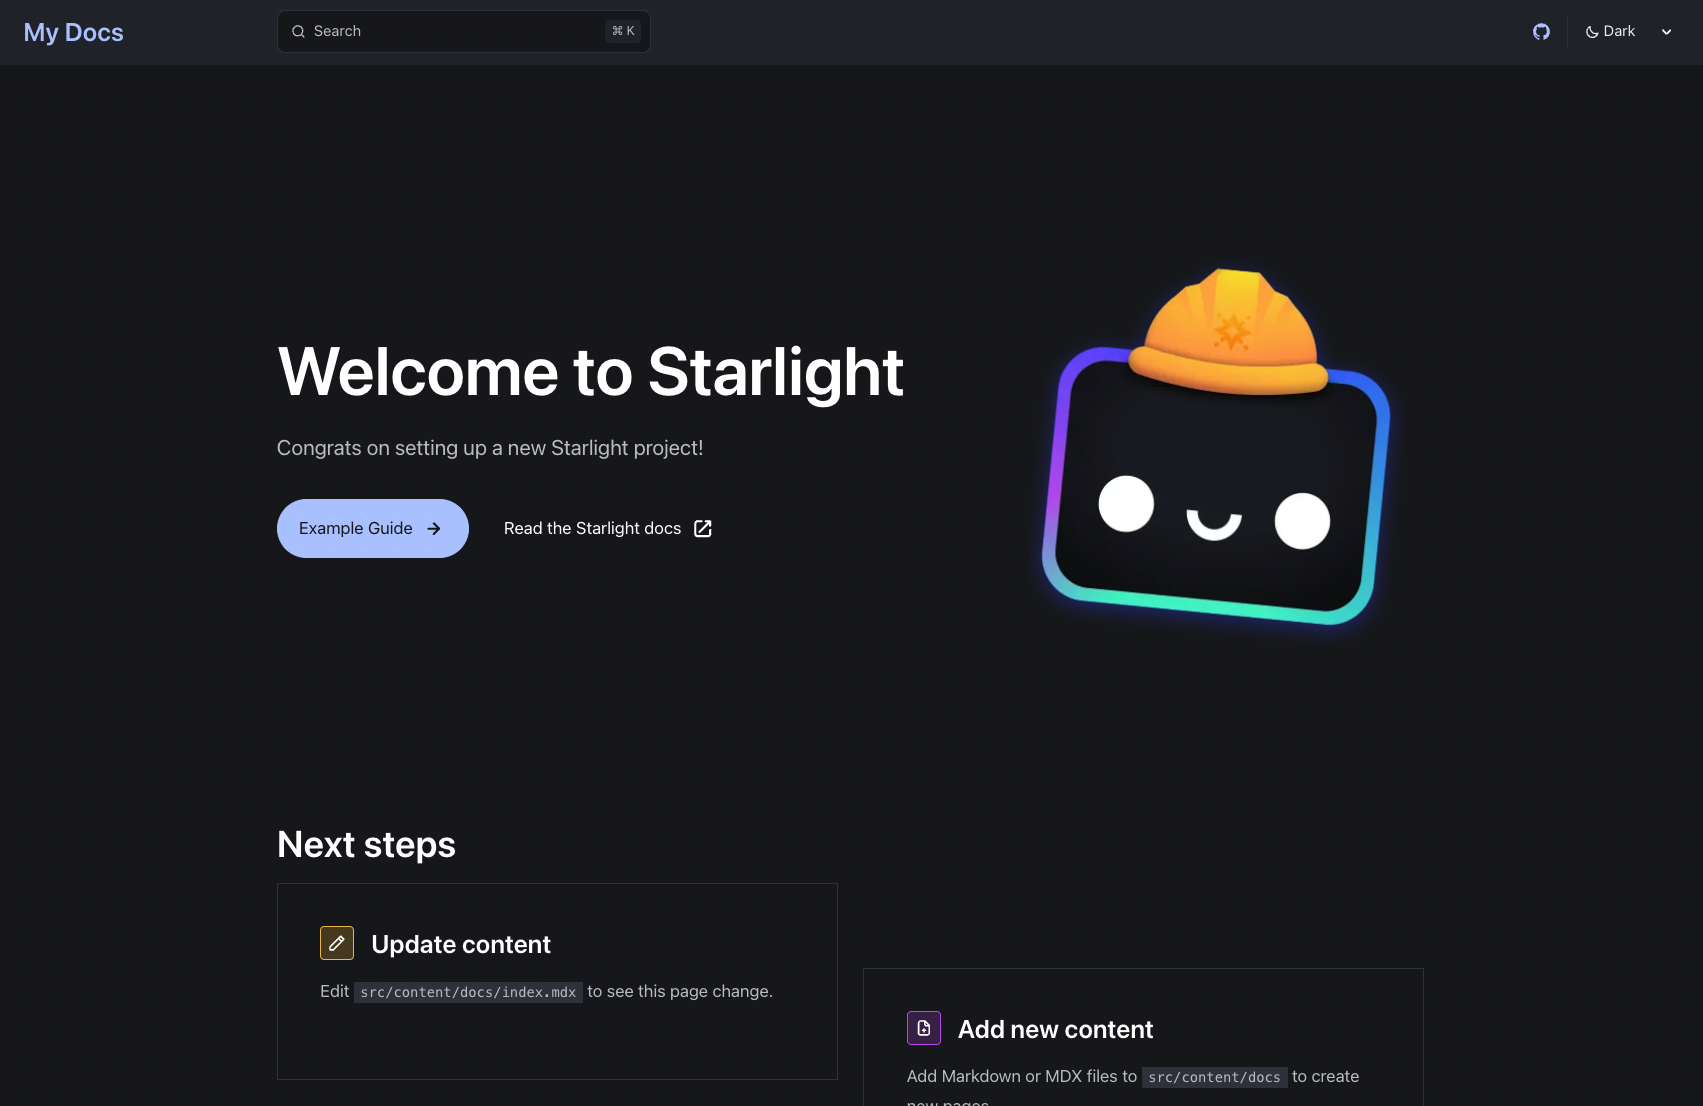
Access http://localhost:4321 in your browser to check the top page.
-
Click the “Example Guide” button to navigate to the documentation page.
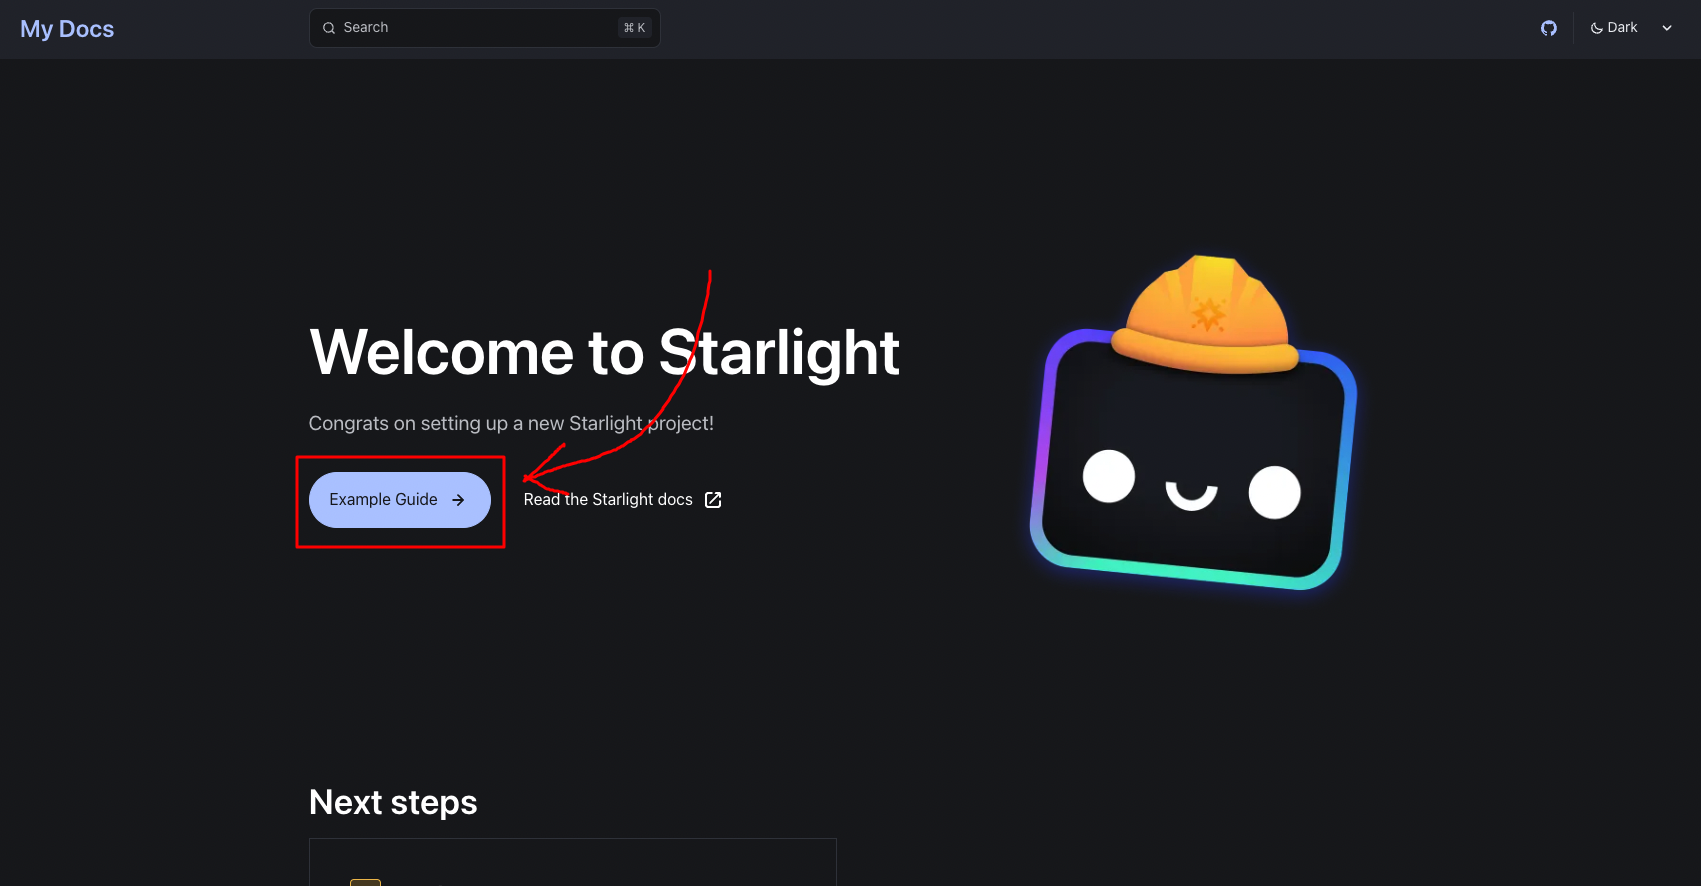
With this, you have successfully created a documentation site using Astro’s Starlight template.
Adding Documents
You’ve created the site, but there are no documents yet.
To add documents, create md or mdx files in the src/content/docs/ directory.
-
Run the following command in your project directory to add a document:
Terminal window touch src/content/docs/test.mdTerminal window New-File src/content/docs/test.mdx -
Write the following content in the created
mdxfile:src/content/docs/test.mdx ---title: test---# test -
Start the local server:
Terminal window pnpm devTerminal window npm run devTerminal window yarn dev -
Access
http://localhost:4321/testin your browser to confirm that the document is displayed.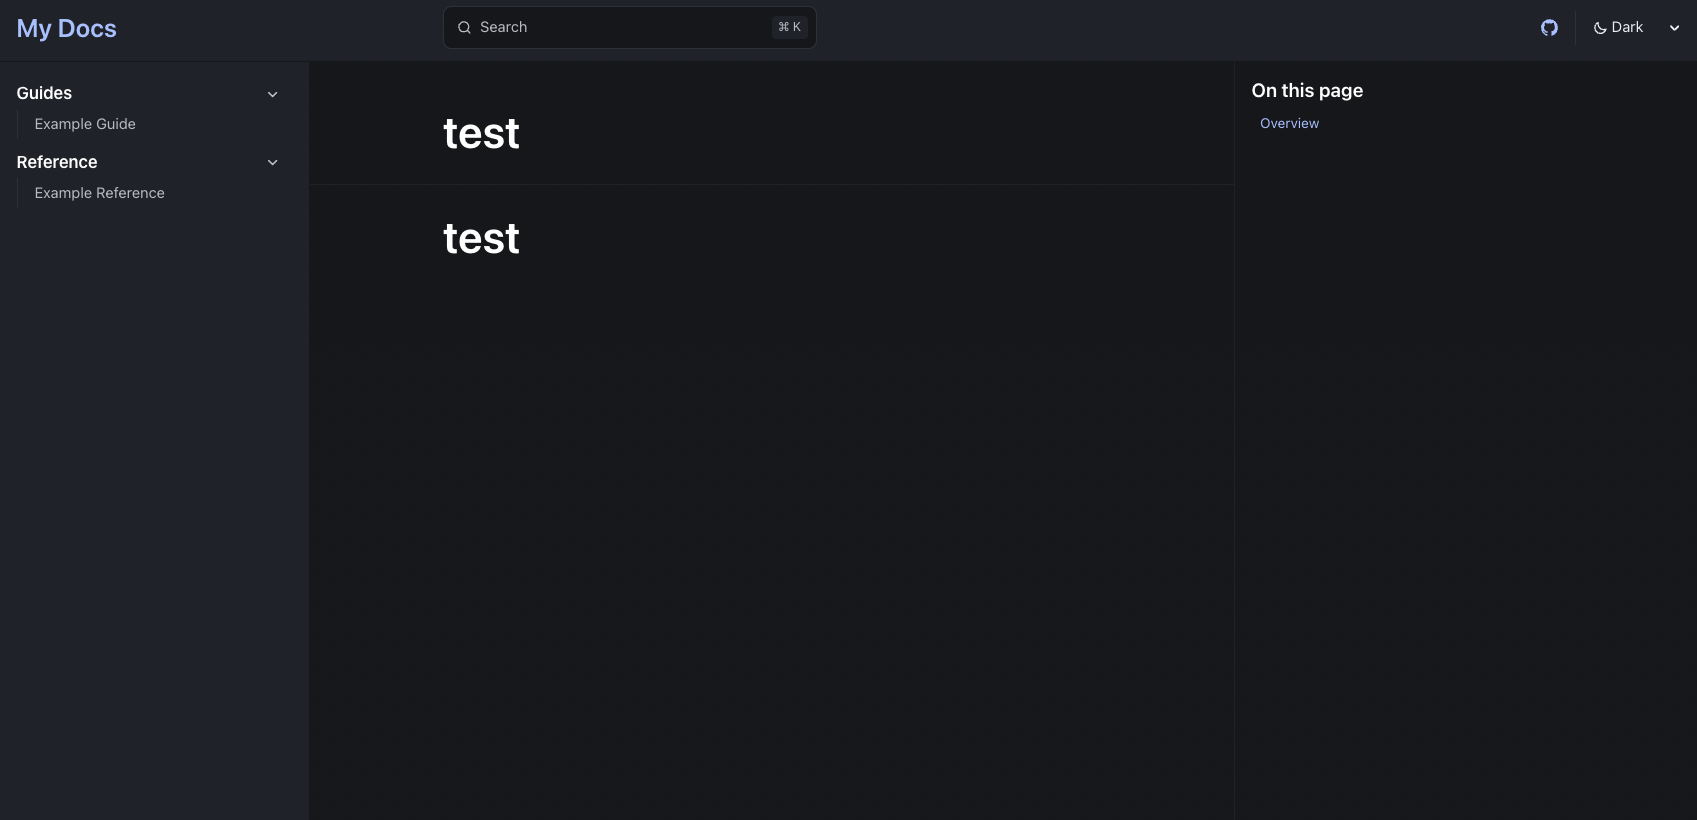
Adding Documents to the Sidebar
As it is now, you can’t access the document unless you directly enter the URL.
Let’s add a link to the document in the sidebar to make it easier to access.
-
Open the
src/astro.config.mjsfile and addsidebaras follows:astro.config.mjs // @ts-checkimport { defineConfig } from 'astro/config';import starlight from '@astrojs/starlight';// https://astro.build/configexport default defineConfig({integrations: [starlight({title: 'My Docs',social: {github: 'https://github.com/withastro/starlight',},sidebar: [{label: 'Guides',items: [// Each item here is one entry in the navigation menu.{ label: 'Example Guide', slug: 'guides/example' },],},{label: 'Reference',autogenerate: { directory: 'reference' },},{label: 'Test', link: '/test/'},],}),],}); -
Restart the local server:
Terminal window pnpm devTerminal window npm run devTerminal window yarn dev -
Access http://localhost:4321 in your browser, click the “Example Guide” button, and confirm that the document has been added to the sidebar.
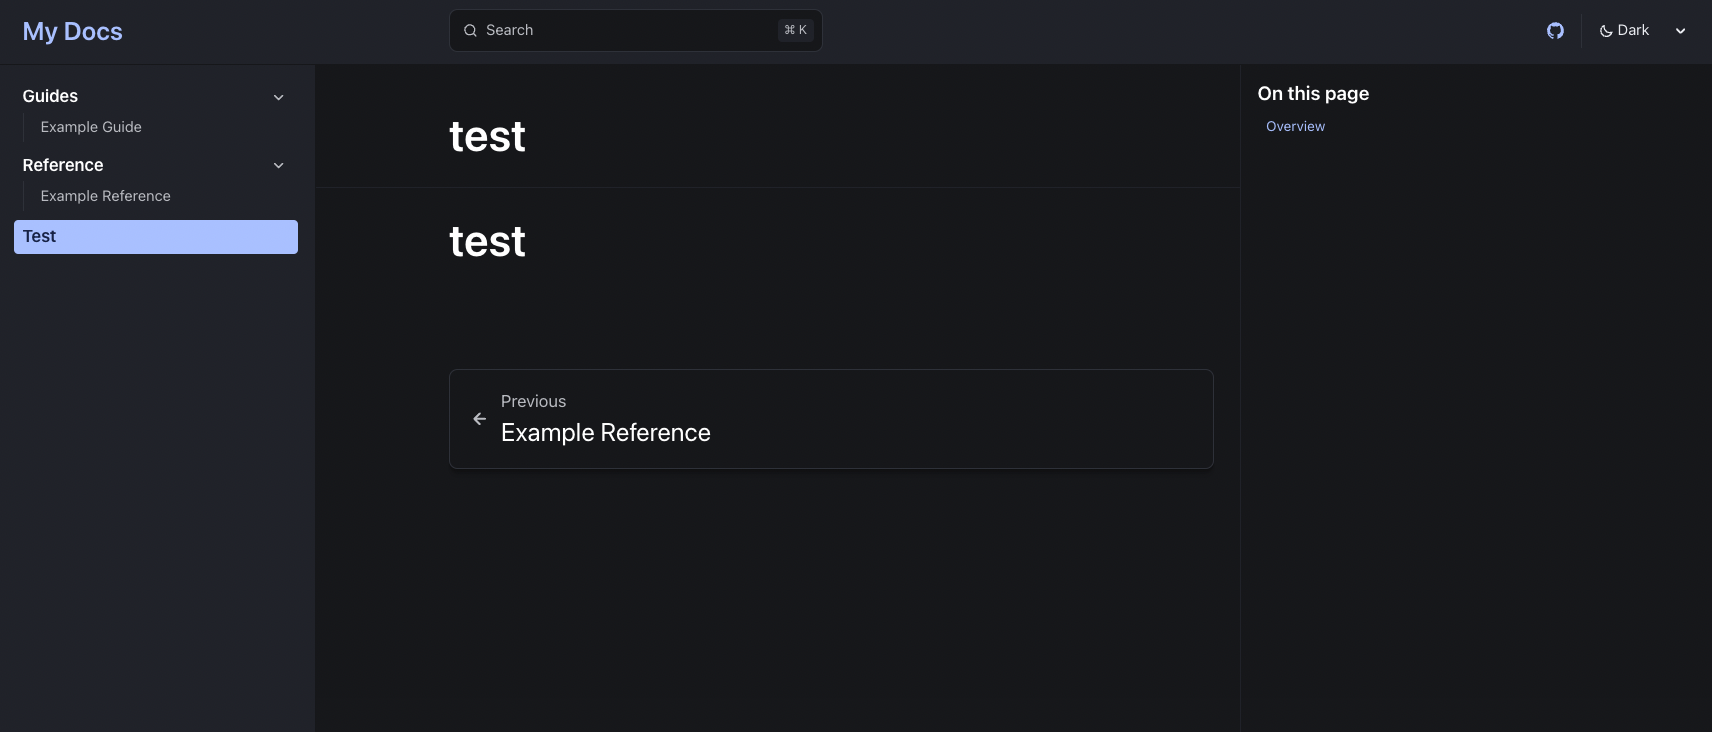
Now you’ve successfully added documents to the sidebar.
Adding Submenus to the Sidebar
As it is now, you can add document links to the sidebar, but you can’t add classified submenus that are common in document sites.
Let’s look at the Guides and Reference that are already using submenus in the sidebar.
Generating by Direct Description
First, let’s generate submenus by direct description.
Let’s look at the Guides submenu.
// @ts-checkimport { defineConfig } from 'astro/config';import starlight from '@astrojs/starlight';
// https://astro.build/configexport default defineConfig({ integrations: [ starlight({ title: 'My Docs', social: { github: 'https://github.com/withastro/starlight', }, sidebar: [ { label: 'Guides', items: [ // Each item here is one entry in the navigation menu. { label: 'Example Guide', slug: 'guides/example' }, ], }, { label: 'Reference', autogenerate: { directory: 'reference' }, }, { label: 'Test', link: '/test/' }, ], }), ],});In the sidebar, there’s a label called Guides, and within it, there’s an array called items. The items array contains the submenu items.
To add a new item to the Guides submenu, add a new item to the items array.
Let’s actually add a link to test.md:
// @ts-checkimport { defineConfig } from 'astro/config';import starlight from '@astrojs/starlight';
// https://astro.build/configexport default defineConfig({  integrations: [    starlight({      title: 'My Docs',      social: {        github: 'https://github.com/withastro/starlight',      },      sidebar: [        {          label: 'Guides',          items: [            // Each item here is one entry in the navigation menu.            { label: 'Example Guide', slug: 'guides/example' },            { label: 'Test', slug: 'test' },          ],        },        {          label: 'Reference',          autogenerate: { directory: 'reference' },        },                {                    label: 'Test', link: '/test/'                },      ],    }),  ],});
For the slug, specify the name of the md or mdx file you created in the src/content/docs/ directory. (In this case, it’s test.mdx, so we specify ‘test’ for the slug)
Start the server and confirm that the submenu has been added to the sidebar.
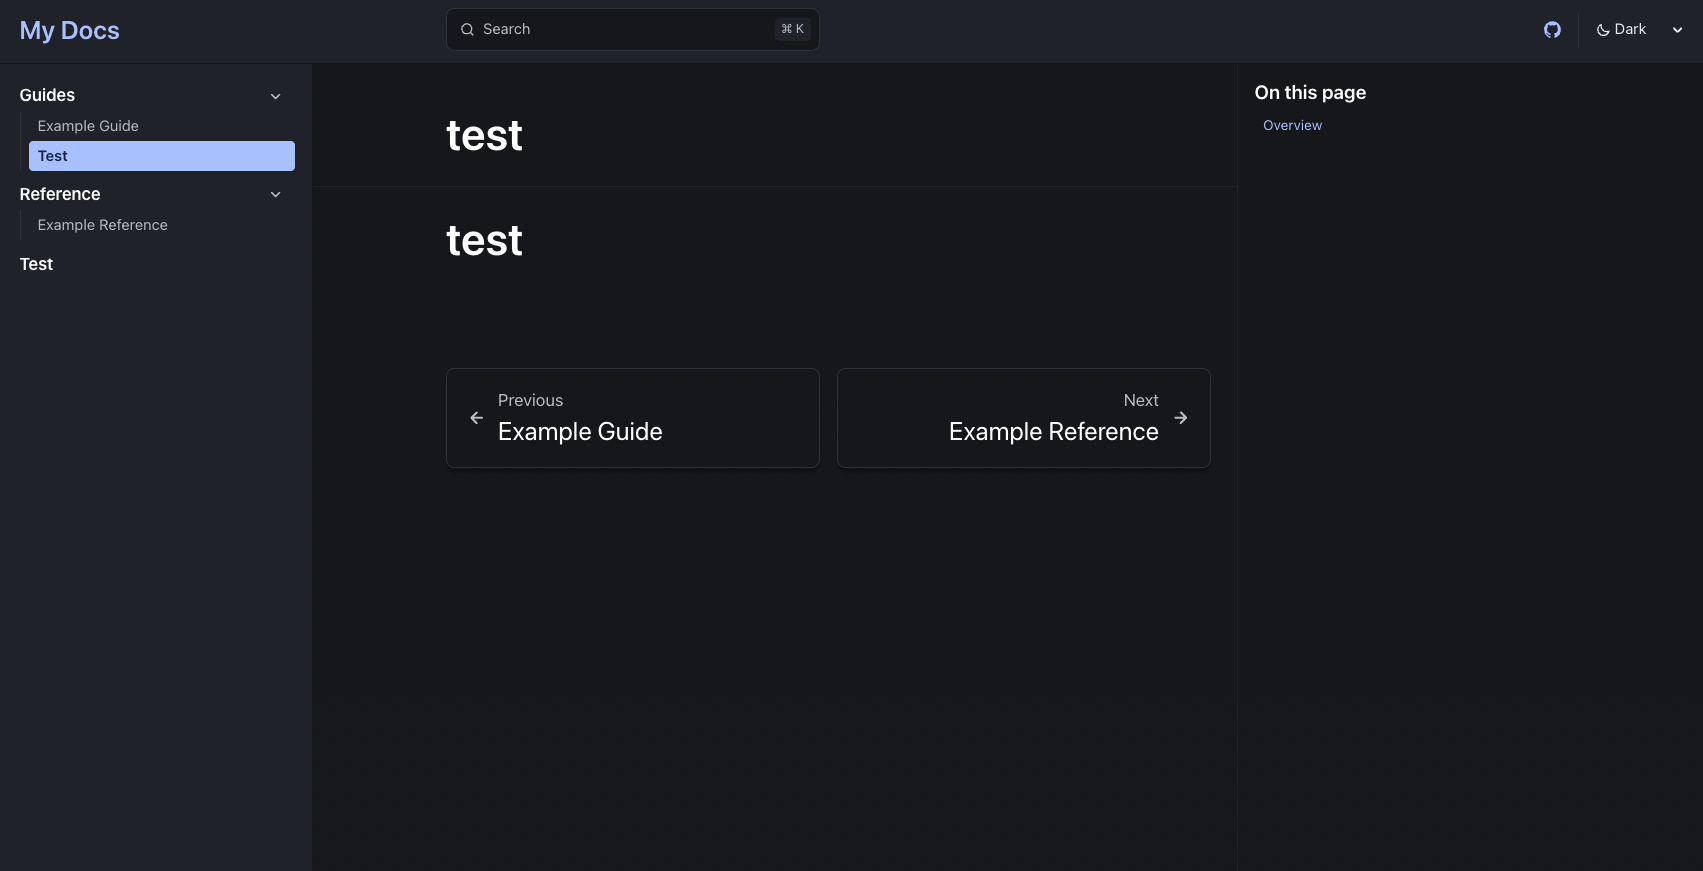
Generating from Directory Structure
It’s troublesome to directly write in astro.config.mjs every time, so let’s introduce a method to automatically generate from the directory structure.
Let’s look at the Reference submenu.
// @ts-checkimport { defineConfig } from 'astro/config';import starlight from '@astrojs/starlight';
// https://astro.build/configexport default defineConfig({  integrations: [    starlight({      title: 'My Docs',      social: {        github: 'https://github.com/withastro/starlight',      },      sidebar: [        {          label: 'Guides',          items: [            // Each item here is one entry in the navigation menu.            { label: 'Example Guide', slug: 'guides/example' },            { label: 'Test', slug: 'test' },          ],        },        {          label: 'Reference',          autogenerate: { directory: 'reference' },        },                {                    label: 'Test', link: '/test/'                },      ],    }),  ],});
The Reference submenu is automatically generated using an object called autogenerate.
In the directory of autogenerate, specify the directory where you want to place the documents.
To add a submenu to Reference, create md or mdx files in the src/content/reference/ directory.
Let’s actually copy the previous test.mdx and create src/content/reference/test.mdx:
cp src/content/docs/test.mdx src/content/docs/reference/test.mdxStart the server and confirm that the submenu has been added to the sidebar.
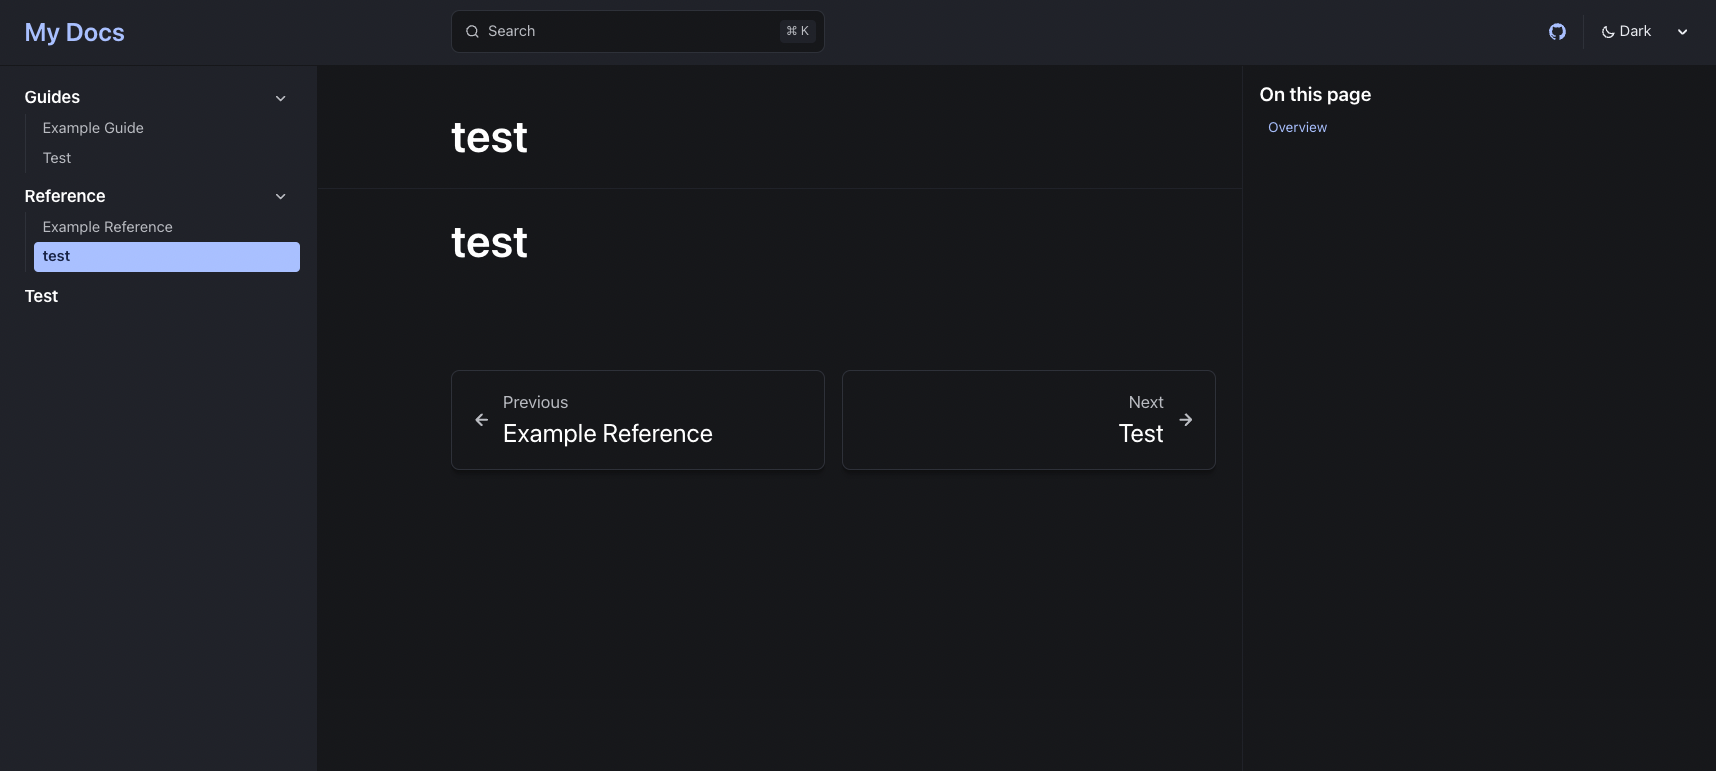
Now you’ve successfully added submenus to the sidebar.
If you want to add a different classification, you can simply create a directory in the same way and add it to the sidebar.
For general use, the method of automatically generating from the directory structure is convenient, but if you want to reuse the same mdx, it might be good to use the direct description method.
Changing the Site Title
By default, the site title is set to “My Docs”.
To change the site title, open the src/astro.config.mjs file and change the title:
// @ts-checkimport { defineConfig } from 'astro/config';import starlight from '@astrojs/starlight';
// https://astro.build/configexport default defineConfig({  integrations: [    starlight({      title: 'Test Docs',      social: {        github: 'https://github.com/withastro/starlight',      },      sidebar: [        {          label: 'Guides',          items: [            // Each item here is one entry in the navigation menu.            { label: 'Example Guide', slug: 'guides/example' },            { label: 'Test', slug: 'test' },          ],        },        {          label: 'Reference',          autogenerate: { directory: 'reference' },        },                {                    label: 'Test', link: '/test/'                },      ],    }),  ],});
Specify the site title in the title.
Start the server and confirm that the site title has been changed.
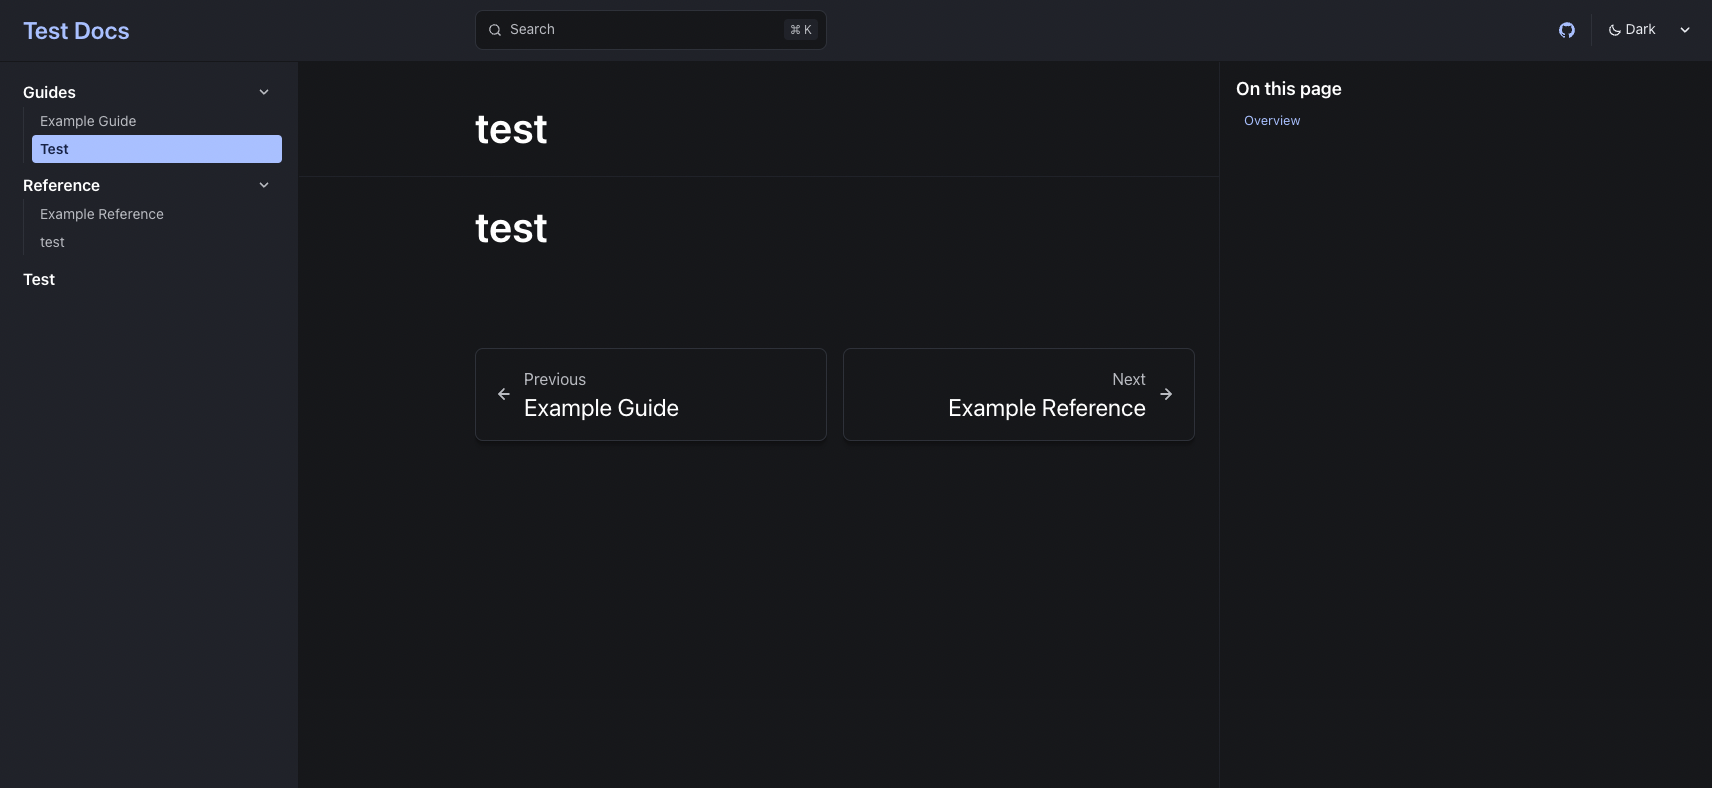
Making the Top Page a Document
For simple document sites, it might be fine if the top page isn’t a landing page.
In that case, modify the index.mdx file in the src/content/docs/ directory.
Specifically, delete template: splash on line 4 as shown below:
---title: Welcome to Starlightdescription: Get started building your docs site with Starlight.template: splashhero:  tagline: Congrats on setting up a new Starlight project!  image:    file: ../../assets/houston.webp  actions:    - text: Example Guide      link: /guides/example/      icon: right-arrow    - text: Read the Starlight docs      link: https://starlight.astro.build      icon: external      variant: minimal---
import { Card, CardGrid } from '@astrojs/starlight/components';
## Next steps
<CardGrid stagger>  <Card title="Update content" icon="pencil">    Edit `src/content/docs/index.mdx` to see this page change.  </Card>  <Card title="Add new content" icon="add-document">    Add Markdown or MDX files to `src/content/docs` to create new pages.  </Card>  <Card title="Configure your site" icon="setting">    Edit your `sidebar` and other config in `astro.config.mjs`.  </Card>  <Card title="Read the docs" icon="open-book">    Learn more in [the Starlight Docs](https://starlight.astro.build/).  </Card></CardGrid>
In Starlight, specifying template: splash allows you to remove the sidebar from the page.
The top page is created as a landing page by specifying the above.
By removing the template and returning to the default, you can make the top page a document (the default is template: docs).
Start the server and confirm that the top page has become a document.
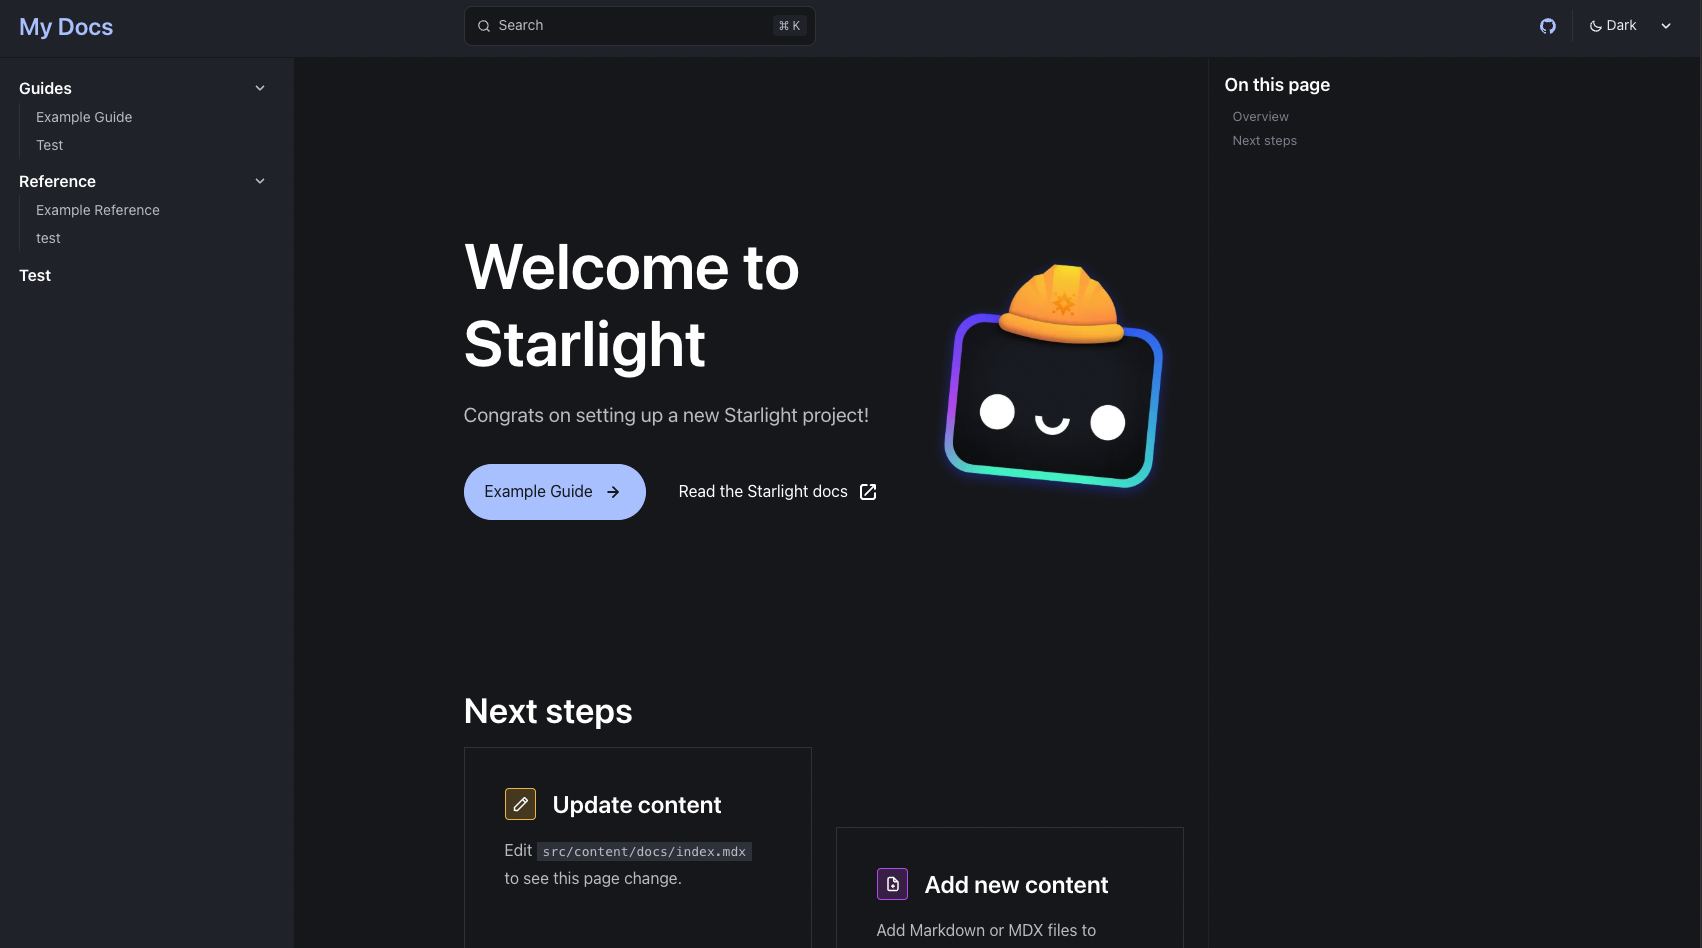
Now you’ve successfully made the top page a document.
At this point, I think it’s sufficient to create a basic document site.
Supporting Japanese(or other languages)
As it is now, the search bar, dark mode toggle, etc. are still in English.
It’s usable, but if you’re creating a document site in Japanese, it would be good to support Japanese (or other languages).
Starlight supports Japanese by default.
Open the src/astro.config.mjs file and add locales as follows:
// @ts-checkimport { defineConfig } from 'astro/config';import starlight from '@astrojs/starlight';
// https://astro.build/configexport default defineConfig({  integrations: [    starlight({      title: 'My Docs',            locales: {                root: {                    label: '日本語',                    lang: 'ja',                },            },      social: {        github: 'https://github.com/withastro/starlight',      },      sidebar: [        {          label: 'Guides',          items: [            // Each item here is one entry in the navigation menu.            { label: 'Example Guide', slug: 'guides/example' },            { label: 'Test', slug: 'test' },          ],        },        {          label: 'Reference',          autogenerate: { directory: 'reference' },        },                {                    label: 'Test', link: '/test/'                },      ],    }),  ],});
By setting root in locales, you support Japanese.
Start the server and confirm that it now supports Japanese.
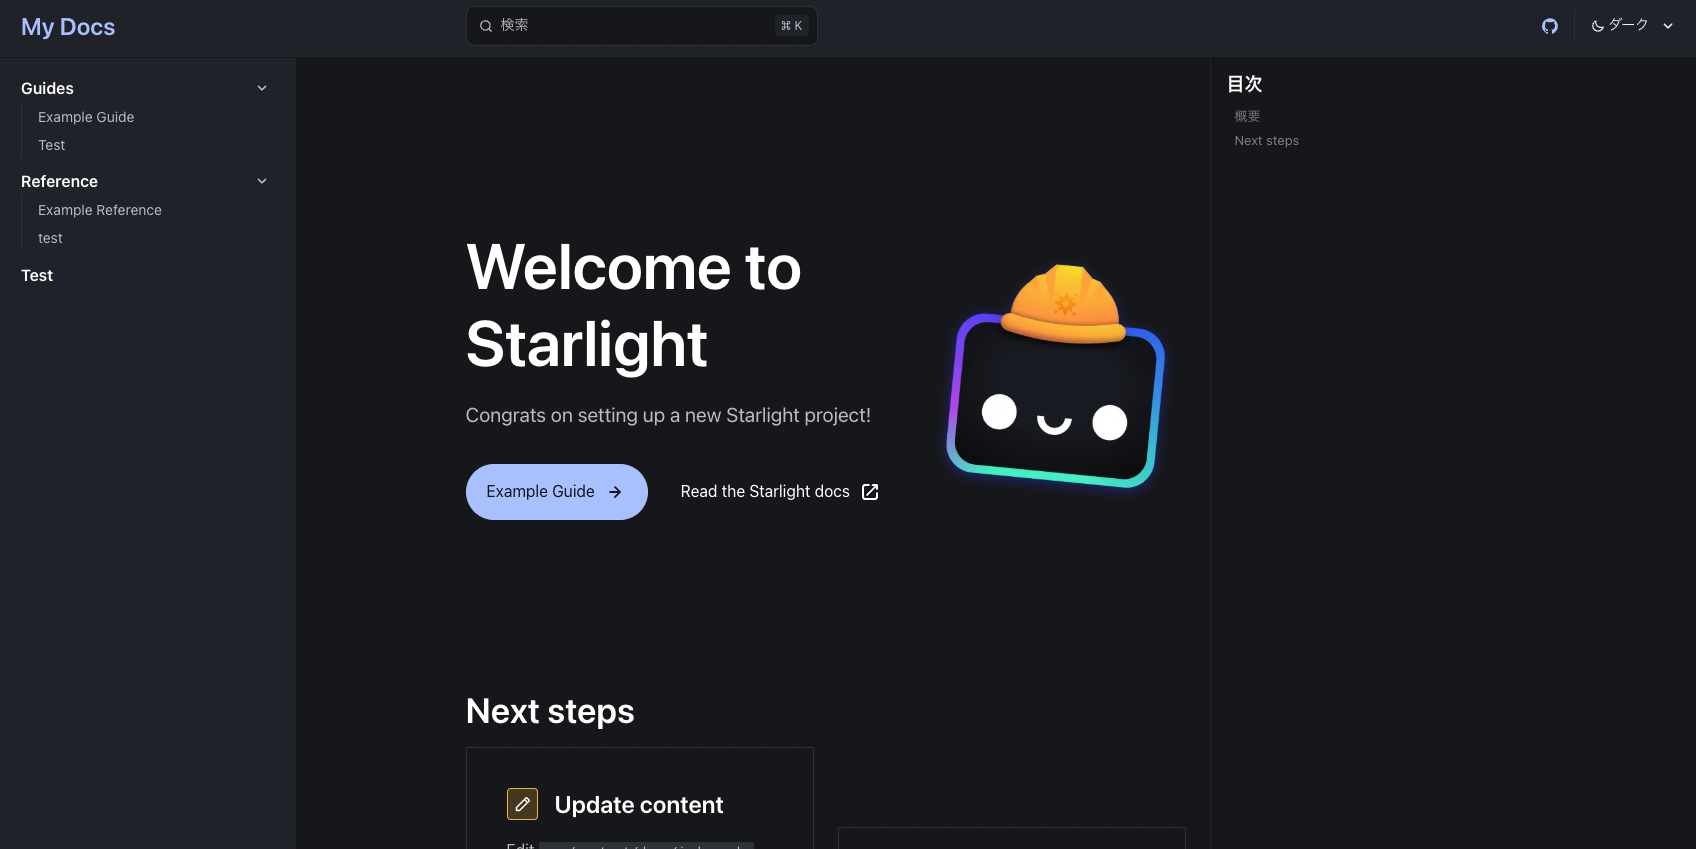
Now you’ve successfully supported Japanese.
At this point, I think it’s sufficient to create a basic Japanese(or other langueges) document site.
For detailed customization, please refer to the Starlight documentation.
