Adding a Blog to Astro's Starlight Template
While Starlight is a template for documentation sites, you can also introduce a blog by adding plugins.
This article will introduce how to add blog functionality to Astro’s Starlight template.
Creating a Starlight Project
If you haven’t created a Starlight project yet, please refer to the following article to create one:
Introducing the Blog
To introduce the blog, follow these steps:
-
Run the following command in the project root to add the blog:
Terminal window pnpm add starlight-blogTerminal window npm i starlight-blogTerminal window yarn add starlight-blog
-
To add the plugin, add the following code to the configuration file
astro.config.mjs:astro.config.mjs import starlight from '@astrojs/starlight'import { defineConfig } from 'astro/config'import starlightBlog from 'starlight-blog'export default defineConfig({integrations: [starlight({plugins: [starlightBlog()],title: 'My Docs',}),],}) -
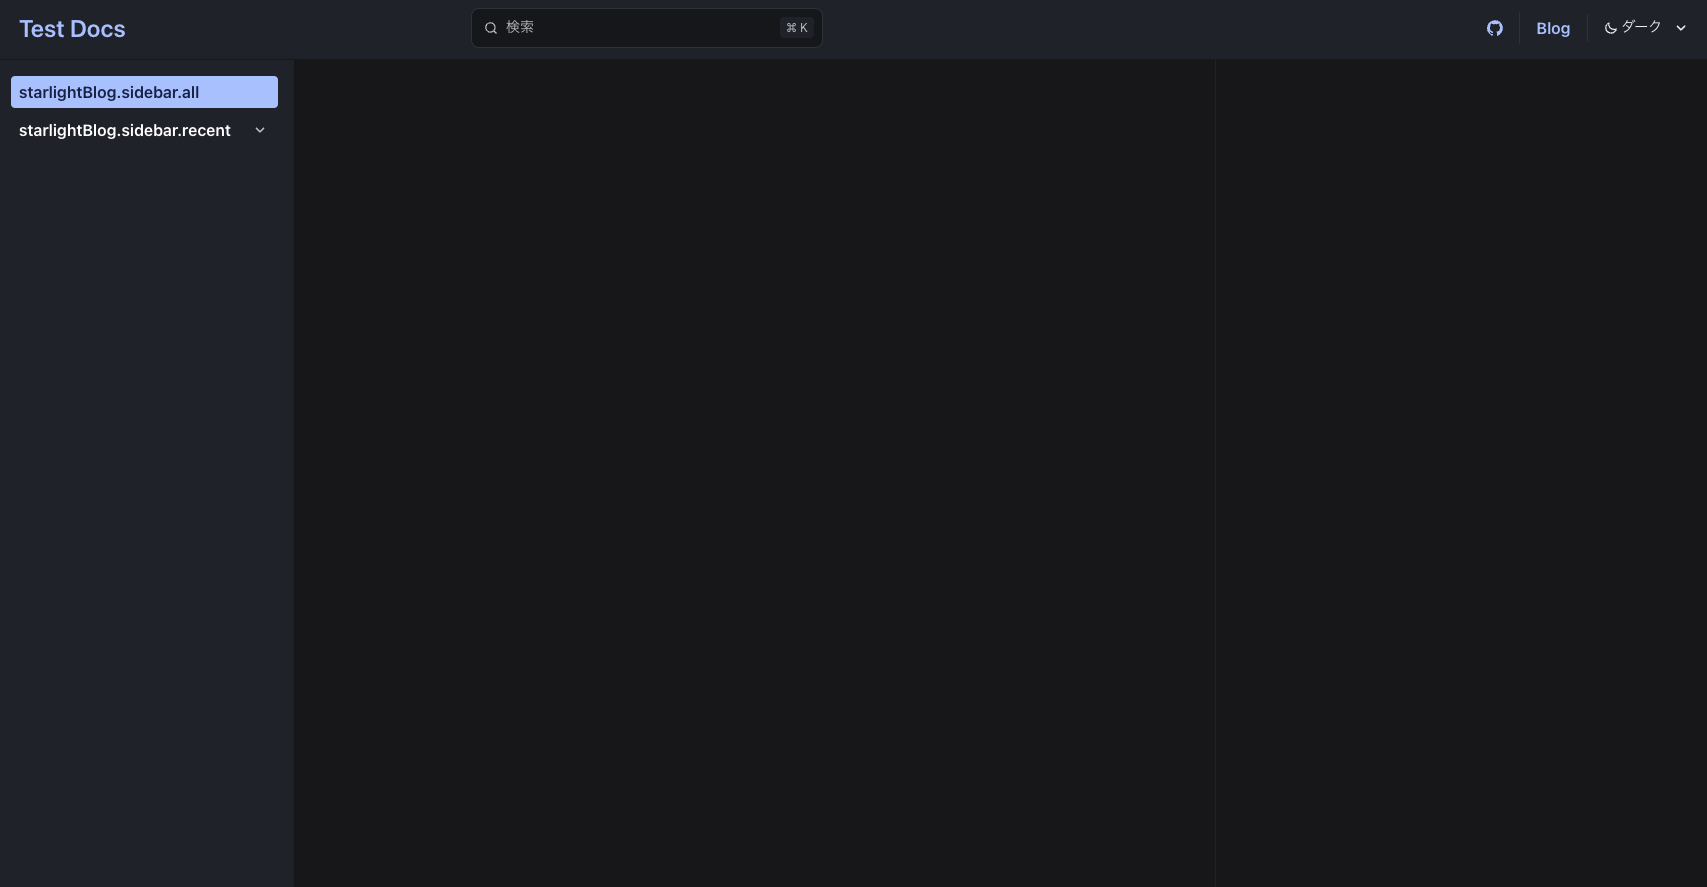
Click on the Blog link added to the top right to check the blog.

-
The blog page will be displayed.

Adding Blog Posts
Now that we have a blog page, let’s actually add some blog posts.
-
First, create a schema to add blog posts. Add the following code to
src/content.config.ts:src/content.config.ts import { defineCollection } from 'astro:content';import { docsLoader } from '@astrojs/starlight/loaders';import { docsSchema } from '@astrojs/starlight/schema';import { blogSchema } from 'starlight-blog/schema';export const collections = {docs: defineCollection({loader: docsLoader(),schema: docsSchema({extend: (context) => blogSchema(context)})}),}; -
Create a
src/content/docs/blog/directory to add blog posts.bash/zsh mkdir -p src/content/docs/blogPowerShell New-Item -Path src/content/docs/blog -ItemType Directory -
To add a blog post, create an
mdormdxfile in thesrc/content/docs/blog/directory.md touch src/content/docs/blog/test.mdxmdx NewItem src/content/docs/blog/test.mdx -
Add the following code to
src/content/docs/blog/test.mdx:src/content/docs/blog/test.mdx ---title: Testdate: 2025-03-10---## TestTestTitle and date are required.
-
Run the command to check the blog:
Terminal window pnpm devTerminal window npm run devTerminal window yarn dev -
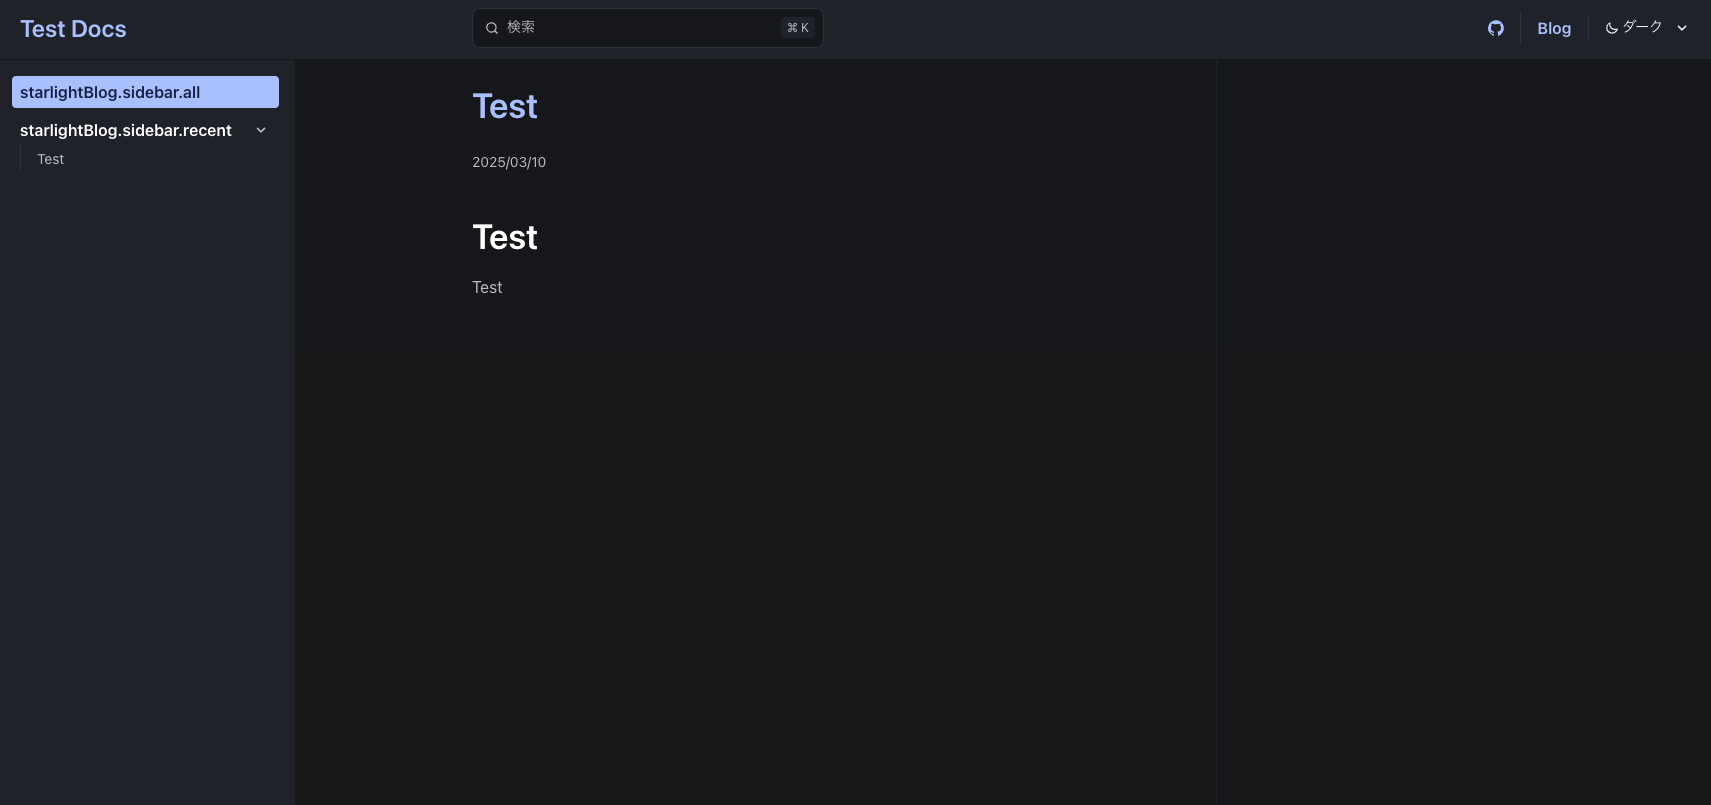
Display
localhost:4321/blog/and confirm that the blog post is displayed.
Adding Tags
You can add tags to blog posts.
You can add tags by adding tags to the markdown file.
---title: testdate: 2025-03-10tags: [test, astro]---
## test
Test
This will add the tags test and astro.
Japanese Localization
As the default UI of the Blog plugin doesn’t support Japanese, we’ll localize it to Japanese.
You can also localize it to other languages by following the same steps.
-
Add the following code to
src/content.config.ts:src/content.config.ts import { defineCollection } from 'astro:content';import { docsLoader, i18nLoader } from '@astrojs/starlight/loaders';import { docsSchema, i18nSchema } from '@astrojs/starlight/schema';import { blogSchema } from 'starlight-blog/schema';export const collections = {docs: defineCollection({loader: docsLoader(),schema: docsSchema({extend: (context) => blogSchema(context)})}),i18n: defineCollection({loader: i18nLoader(),schema: i18nSchema()}),}; -
Create a
src/content/i18n/directory.bash/zsh mkdir -p src/content/i18nPowerShell New-Item -Path src/content/i18n -ItemType Directory -
Create a
ja.jsonfile in thesrc/content/i18n/directory.ja.json touch src/content/i18n/ja.jsonja.json NewItem src/content/i18n/ja.json -
Add the following code to
src/content/i18n/ja.json:src/content/i18n/ja.json {"starlightBlog.authors.count_one": "{{author}}の投稿: {{count}}","starlightBlog.authors.count_other": "{{author}}の投稿: {{count}}","starlightBlog.pagination.prev": "新しい投稿","starlightBlog.pagination.next": "古い投稿","starlightBlog.post.lastUpdate": " - 最終更新日: {{date}}","starlightBlog.post.draft": "下書き","starlightBlog.post.featured": "おすすめ","starlightBlog.post.tags": "タグ:","starlightBlog.sidebar.all": "すべての投稿","starlightBlog.sidebar.featured": "おすすめの投稿","starlightBlog.sidebar.recent": "最新の投稿","starlightBlog.sidebar.tags": "タグ","starlightBlog.sidebar.authors": "投稿者","starlightBlog.sidebar.rss": "RSS","starlightBlog.tags.count_one": "“{{tag}}” の投稿: {{count}} 件","starlightBlog.tags.count_other": "{{tag}}” の投稿: {{count}} 件"} -
Run the command to check the blog:
Terminal window pnpm devTerminal window npm run devTerminal window yarn dev -
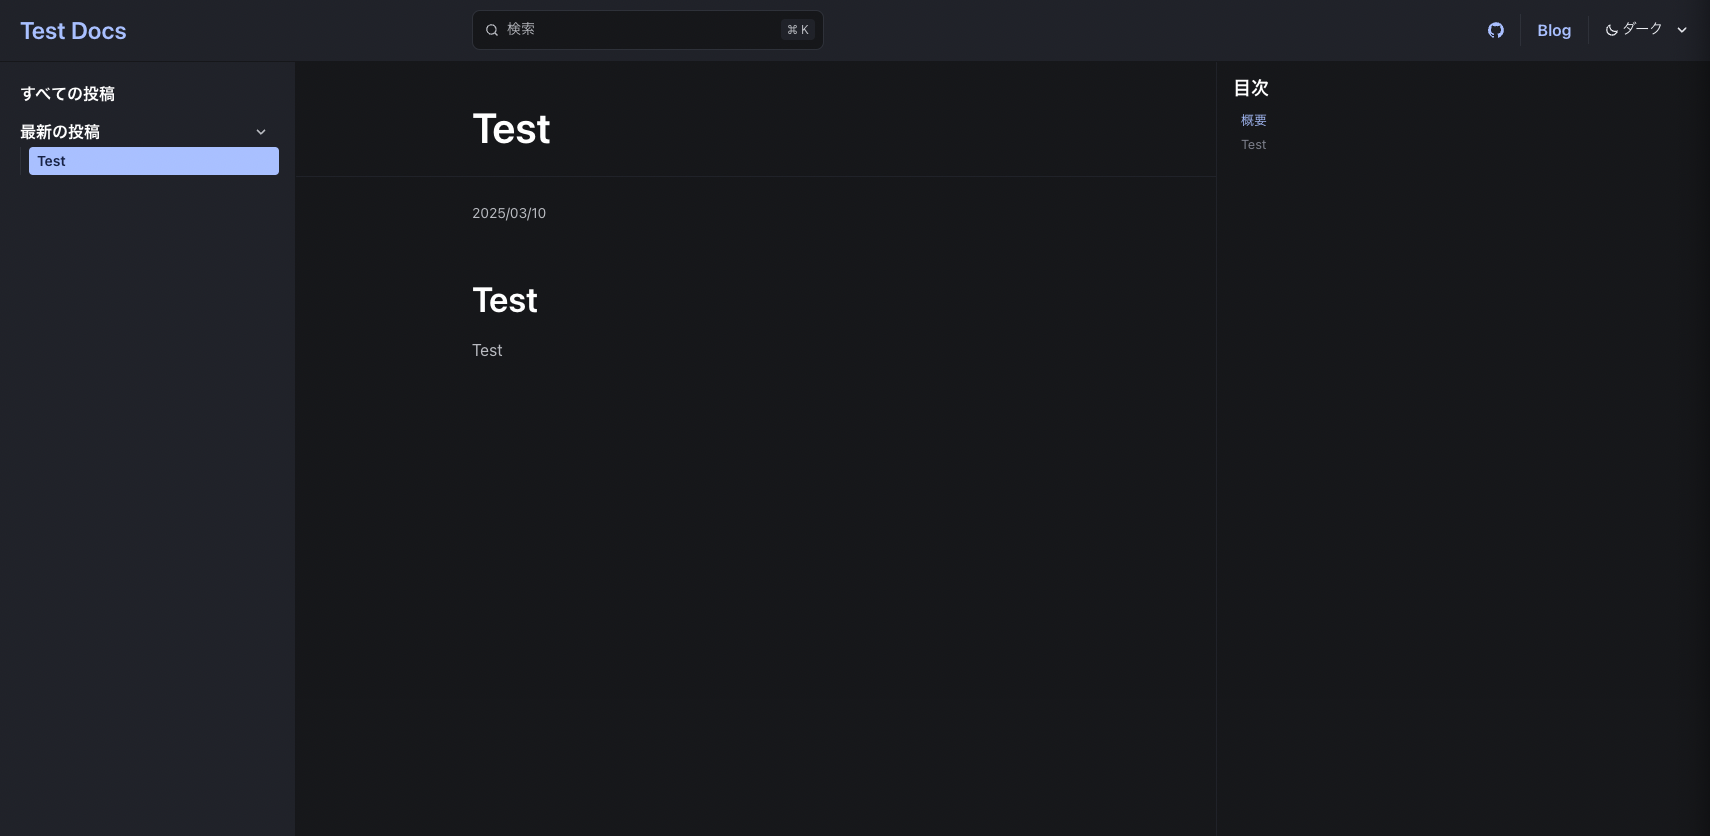
Display
localhost:4321/blog/and confirm that the UI is in Japanese.
This should allow you to run a minimally Japanese-localized blog.
For detailed customization, please refer to the Starlight documentation.
